
The complete equipment collection
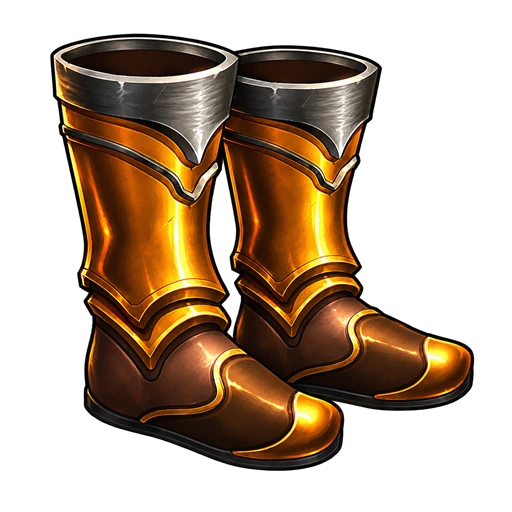
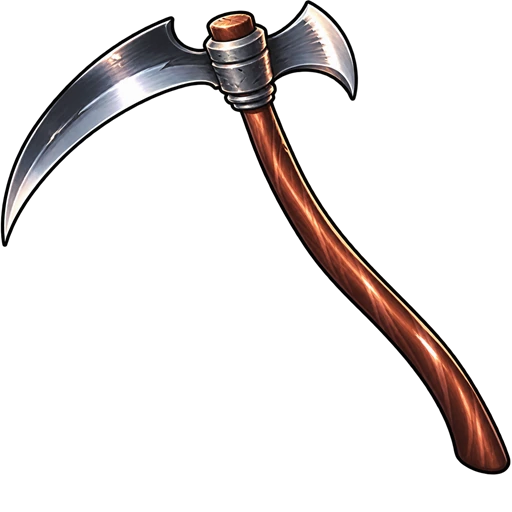
Each row represents an equipment slot. The visual tiers run from T1 to T6 and follow the same progression as the six item rarities.










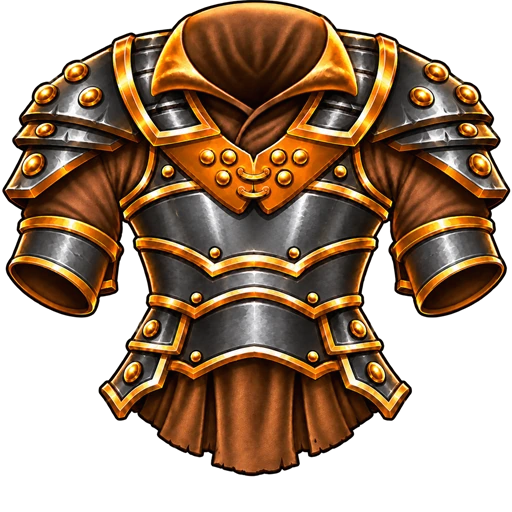

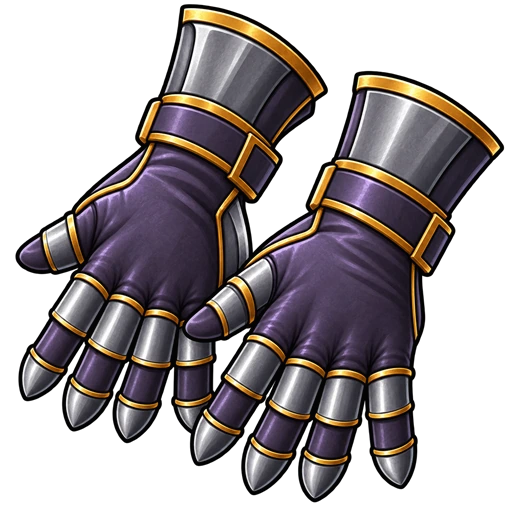
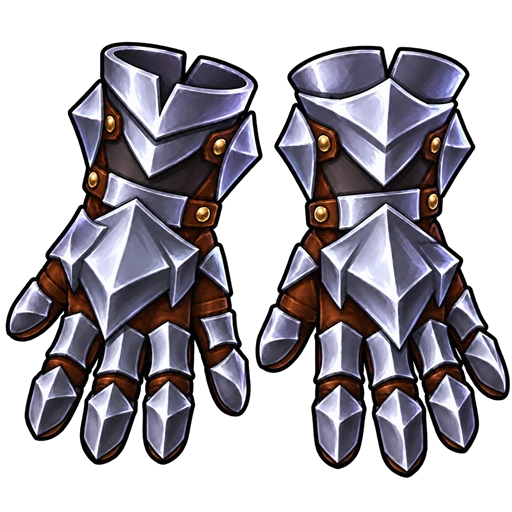




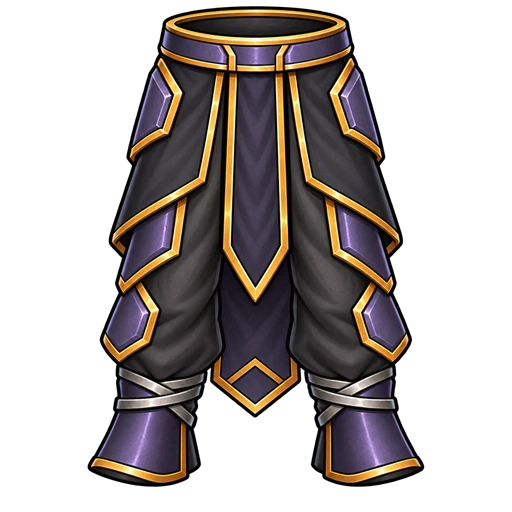
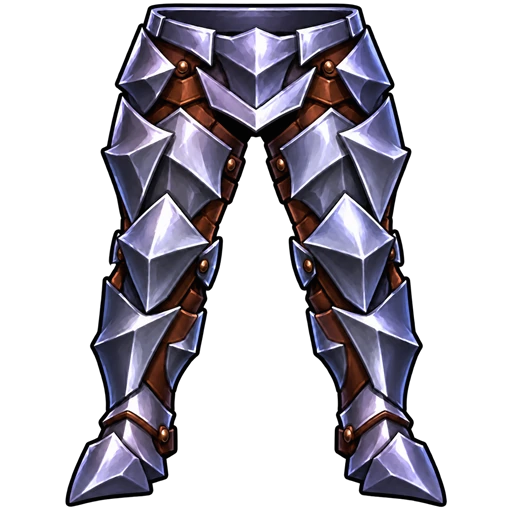

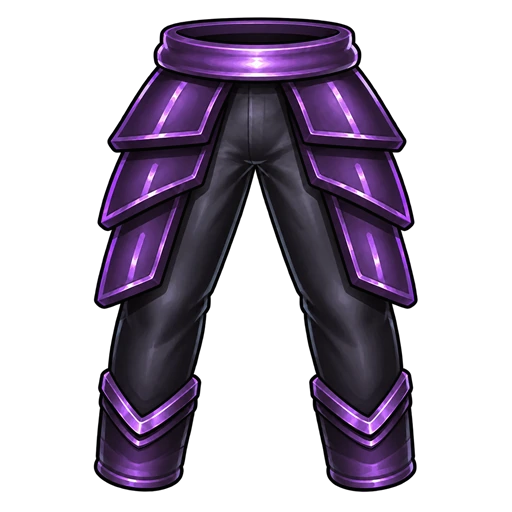
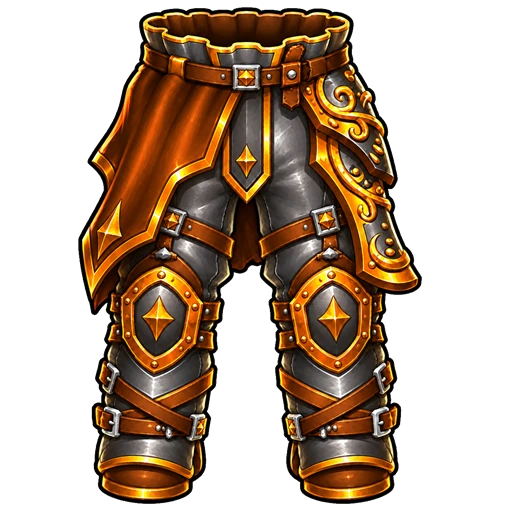


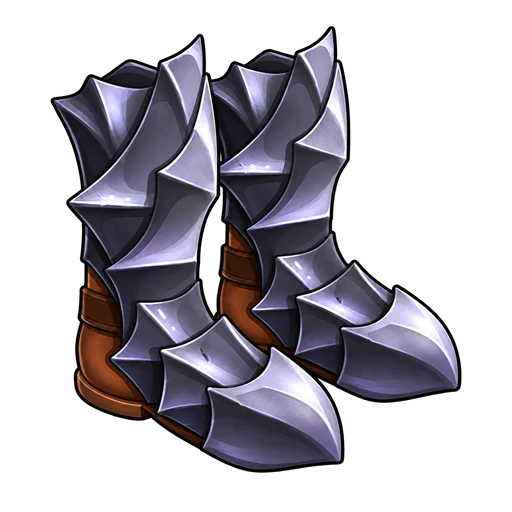








Item level comes before rarity
An item records the zone at which it was generated. That level is a major part of its final value, so a recent Epic item can outperform an older Sublime one. Compare the displayed effect instead of replacing equipment from color alone. The inventory is ordered by item level first and rarity second, making the strongest current candidates easier to inspect.
Equipment can grant DPS, Click Damage or Scroll bonuses. A balanced inventory is not automatically optimal: when a boss blocks progress, a direct damage upgrade may matter more than extra scroll production; during an established farming run, permanent-resource bonuses can become more valuable.
Example: if an item comparison shows +8% DPS but -12% Click Damage, choose according to your current damage source. For a team relying on automatic attacks, the DPS gain may help; for a click-focused boss attempt, losing Click Damage may be a poor trade. These numbers are illustrative, not fixed item bonuses.
Rarity and drop chances
Basic and Normal equipment form most early drops. Rare, Epic, Legendary and Sublime pieces are progressively less common and have stronger base values. The Rune of Prestige increases the relative chance of finding Rare-or-better equipment, but it does not increase the item level. Reaching a higher zone remains the way to generate higher-level loot.
Upgrade, lock or dismantle
Diamonds can raise an item's level after it drops. Before spending them, compare the preview with another piece you may soon replace. Locking protects an important item from accidental dismantling. When storage is full, excess drops are converted into diamonds instead of disappearing without compensation.
Swapping an equipped piece with one from a full inventory is a one-for-one exchange. It does not require a spare slot. This makes it safe to compare equipment even when every inventory cell is occupied.
Diamond farming: compare rewards per minute
When monsters near your highest zone take too long to defeat, return to an earlier zone where you can one-shot them, then enable farming mode. During active combat, each kill has a 3% equipment drop chance. More kills create more drop opportunities, but drops remain random: 100 kills do not guarantee three items.
Dismantling unwanted equipment gives diamonds for equipment upgrades. The amount depends on rarity and item level, so the lowest zone is not automatically best. For example, a Rare item gives 25 diamonds at level 10 and 40 at level 20. Farming the higher zone only helps if its greater item value compensates for slower kills. Diamonds are separate from the shop's gems.
Compare two or three zones over equal periods, using the same skills and auto-clickers. Count the diamonds obtained from dismantling rather than only the number of drops; repeat the test to reduce random variation. Lock useful items and keep inventory space available. Choose the zone with the best observed diamond income, then return to progression when you need higher-level equipment. The same farming session can also advance the targeted enemy's evolution counter.
When your inventory is full, new equipment drops are automatically dismantled into diamonds, both during active combat and offline. Items already stored or equipped are not replaced or dismantled. Keep free slots if you want to inspect and keep new loot; otherwise, count these automatically credited diamonds when comparing your farming income.
A practical decision order
- Sort by level and inspect the newest items first.
- Compare the actual displayed effect, not only the rarity color.
- Equip the stat that addresses the current progression wall.
- Lock pieces you intend to keep.
- Dismantle obsolete items and reinvest diamonds selectively.